Greeting someone with a Cricut gift card holder makes an instant impression on them. Hello readers, I am back with another DIY project that you can make from the Cricut machine. If you ask me which craft I love more, the answer is a customized gift card holder. Nowadays, people consider this project to be the best gift to give someone on their special day. One reason they are so famous among DIYers is that they are easy to make and look fabulous.
If you are willing to try something new, try this one. It will surely take you to a new world of crafting and encourage you to try more. Besides, you need to know the supplies required while designing it. Let’s not waste any time and start a blog on creating this beautiful craft.
What Materials Should I Use to Make a Gift Card Holder?
Since my nephew will celebrate his 10th birthday, I decided to make it so he can use it in the future. To make it perfect, I will need some items to help me make it my choice. Have a look at the below pointers to learn about the names of the items that I will need while doing this personalized project:
- Cricut cutting machine
- Design Space
- Cricut cardstock (Green and White)
- Brayer tool
- Double-sided tape
- Cricut mat (Green)
- Scoring wheel
- Cricut pen
- Fine-Point Blade and Housing
How Can I Make a Cricut Gift Card Holder With Design Space?
If you need a clue about how to start this project from scratch, I will help you with the situation. You have to follow the below instructions and keep going on with the designing process:
Step 1: First, Draw Your Design on the Cricut Software
Let’s start making a gift card holder by opening the Cricut Design Space app and pressing the Upload option. Then, choose the design from the library and press the Add to Canvas option.
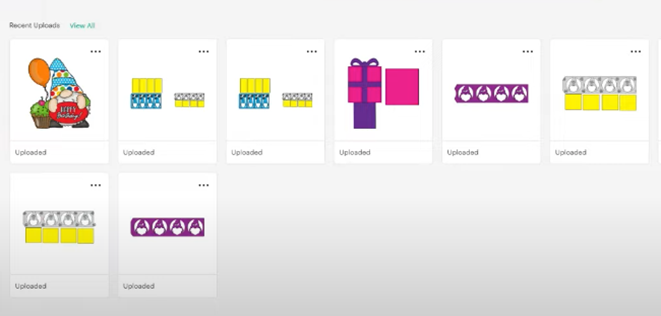
Now, go to Operation and hit the Score option given under its drop box. After doing that, go to the dotted lines and press the Group icon appearing under the Layers panel. Next, place the rectangle on the top of the square. Following this, go back to the Uploads option, tick the Upload Image > Browse, and choose the image from the library.
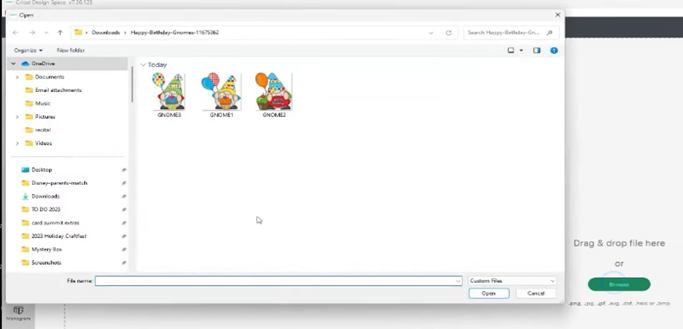
After choosing the image, select its type to Complex and hit the Continue option. To complete the Cricut gift card holder designing process, click the Print Then Cut Image and press the Upload option. Then, resize your design and go to the Offset option. At this point, change the distance or corner and hit the Apply option. After offsetting the design, go through the following steps:
- Change its background color, select both, and flatten them up.
- Hit the Text toolbar, enter the text, and change its size, font, style, and color.
- Afterward, go to the Operation Dropbox again and choose the Pen option.
- Move the text inside the rectangle design and press the Make It option.
Step 2: After That, Print Your Card Holder Design
On the new web page, you will notice that the design is in three different cutting mats. Go to Print Then Cut, and click the Send to Printer button. Afterward, complete the printer setup process and choose the Print option.
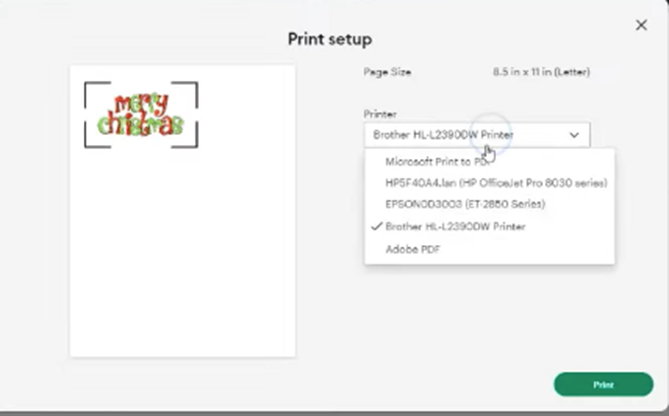
Now, switch on your printer and upload an A4 size sheet inside it. You must wait until your Cricut gift card holder design is printed. Once the printing process is finished, take out the sheet, and your design is ready for cutting.
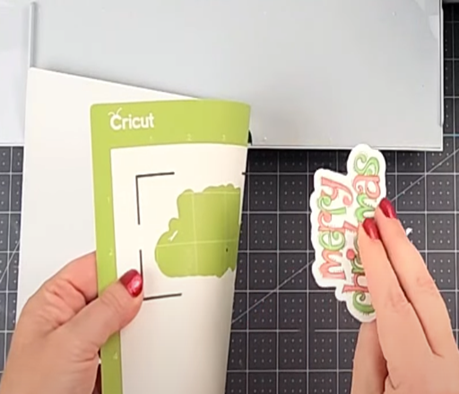
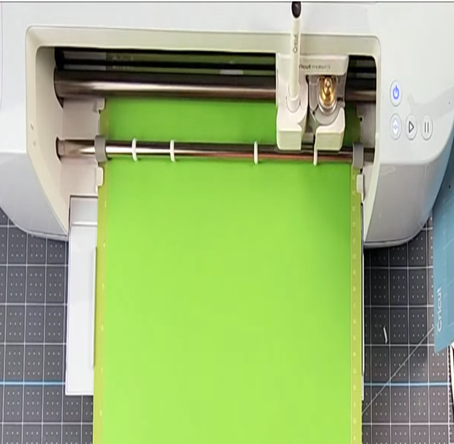
Step 3: Then, Start the Cutting Process
After completing the drawing and printing the design, put your Print Then Cut image on the Cricut cutting mat using the brayer tool. Once done, load the blade into the Clamp and start your electronic cutting machine. Afterward, bend your cutting mat and remove the design from it.
Next, choose the Medium Cardstock-80 lb and load the Cricut pen into Clamp A. After selecting them, place the material on the Cricut mat with the brayer tool to avoid bubbles. Now, unlock the clamps, change the blade, and load the pen inside the respective clamps. After that, press the Go button, and your craft plotter will start writing the text on the material.
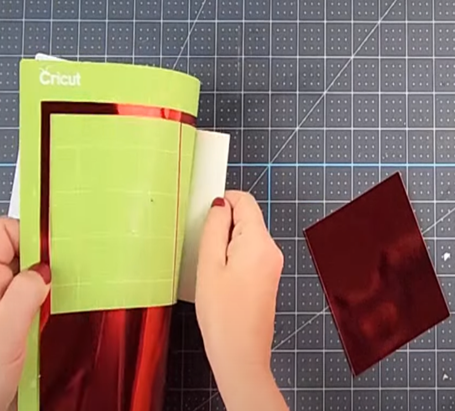
Then, peel off the material from your cutting mat and paste the red poster board on it. Next, load the mat into the craft plotter and wait until the cutting process continues. After it is complete, remove the shape from the mat and keep the rest of the board safe for upcoming projects.
Step 4: Finally, Assemble All the Pieces
In creating a customized gift card holder, take a gift coupon and stick it with the double-sided tape on the first piece of the material. After doing that, the back sides of the red cardstock side with double-sided tape and cover it with another.
Next, cover the back of your Print Then Cut design with double-sided tape and put it above the cardstock. Finally, put the gift card inside the space available inside the cardstock, and your DIY project is ready to given as a gift to your loved ones.
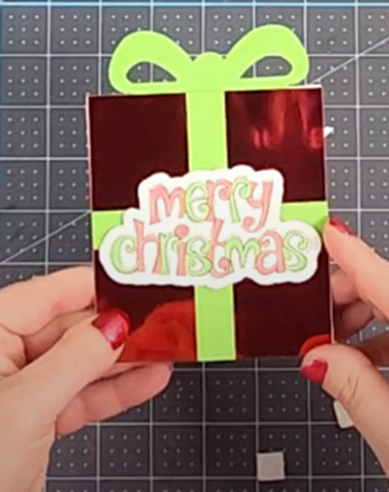
Bravo! You have now learned another do-it-yourself craft that can be made from any Cricut machine within a few minutes. I am confident that my nephew will greatly like this Cricut gift card holder and appreciate my efforts.
Frequently Asked Questions
Question: How to Make a Gift Card Holder With Cricut?
Answer: Go through the below steps to learn about the steps of making this DIY craft:
- First, you need to log in to Cricut Design Space and create your design on the canvas.
- Second, place the material on the cutting mat and wait until the cutting process continues.
- Afterward, stick all the pieces with double-sided tape, and your craft will finally be finished.
Question: Can I Make Money By Selling Gift Card Holders?
Answer: If you are a crazy crafter and want to start a new business, you should try selling custom-made gift card holders. However, to start the business, you must ensure what the customer wants from you and how many types of holders you can make for them.
Question: How Do I Make a Gift Card Holder Design on Cricut App?
Answer: Go through the below-mentioned steps and create your gift card holder on the Cricut app:
- Start the process by installing the Cricut Design Space app on your devices.
- Next, you need to log in or sign in with the credentials.
- After that, upload the image from the gallery, enter the text, and flatten the design.